How to Make My Cricut Write Using Design Space
Disclosure: Some of the links below are affiliate links provided for your convenience. This means, at no additional cost to you, we will earn a commission if you click through and make a purchase.
Have you tried drawing text with your Cricut machine and Cricut pens or markers? Unless you use Cricut writing fonts, you will find that Cricut will only draw the outlines of your text. There are several different writing fonts hacks you can use, but we have an amazing new one that makes use of Design Space's offset tool to fill in fonts on Cricut designs.
Offset is a fairly new addition to Design Space and we have been experimenting with all the different ways we can use it for our designs. Today, we want to show you how to use the offset function in a new and unique way for filled in letters with Cricut markers and pens.
How to Fill in Fonts on Cricut
We just love this amazing Cricut hack for writing fonts. You can use it in so many different ways – even when writing inside a card with your Cricut!
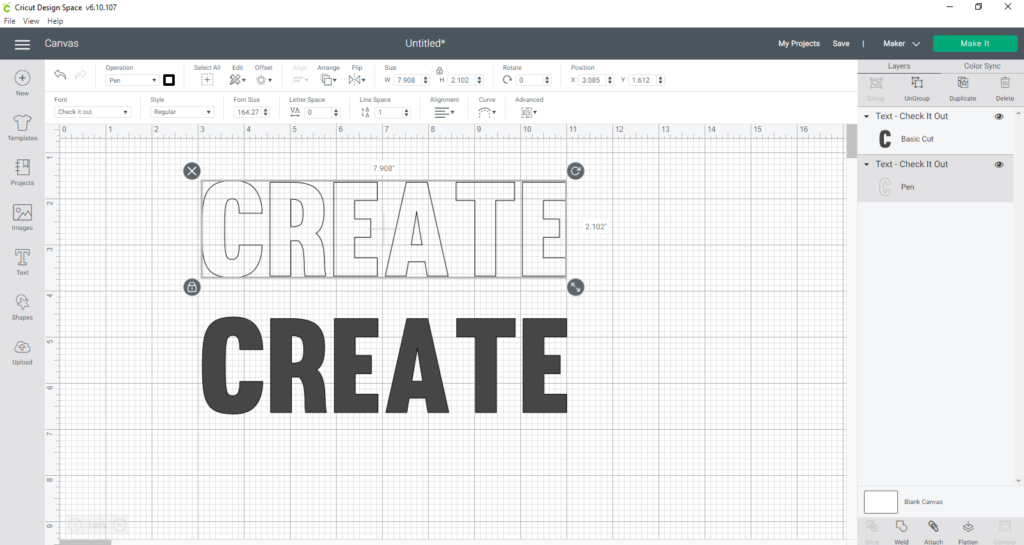
To get started, we're choosing a fairly large chunky font. This is the Check it Out font from here on Makers Gonna Learn.
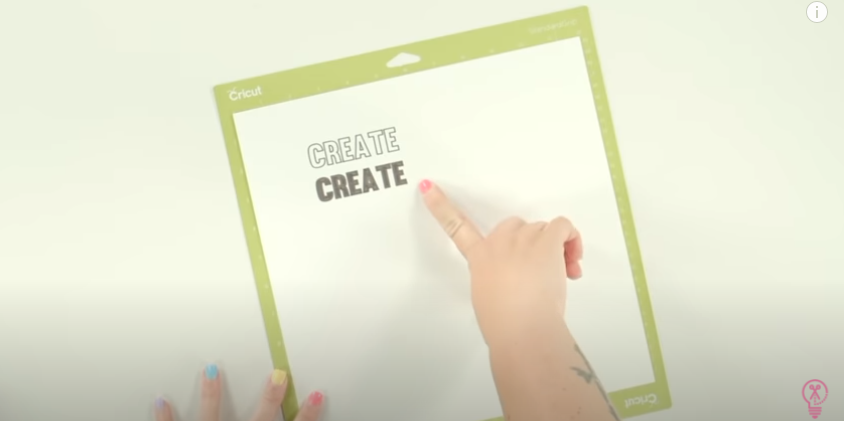
If you simply change from a Cut line to a Draw line for this font, your Cricut will simply draw the outline of each letter. To get a filled in font, you need to follow our Cricut hack.
Using the offset tool to create a filled in font appearance
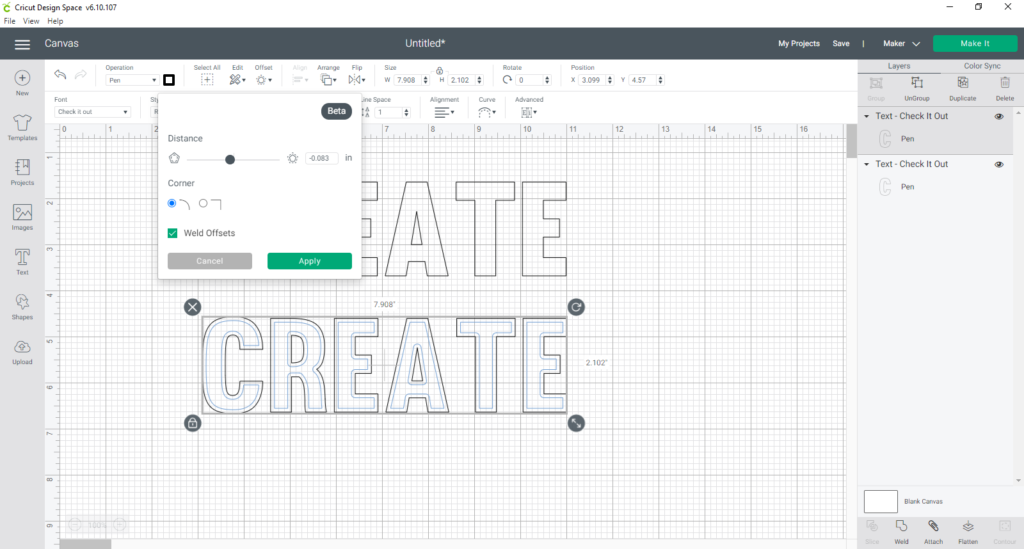
Select your text and click Offset. Normally, we would choose Offset and then create a border around the word. In this case, we're going to create an inset by moving the slider to the left instead of the right. Press Apply.
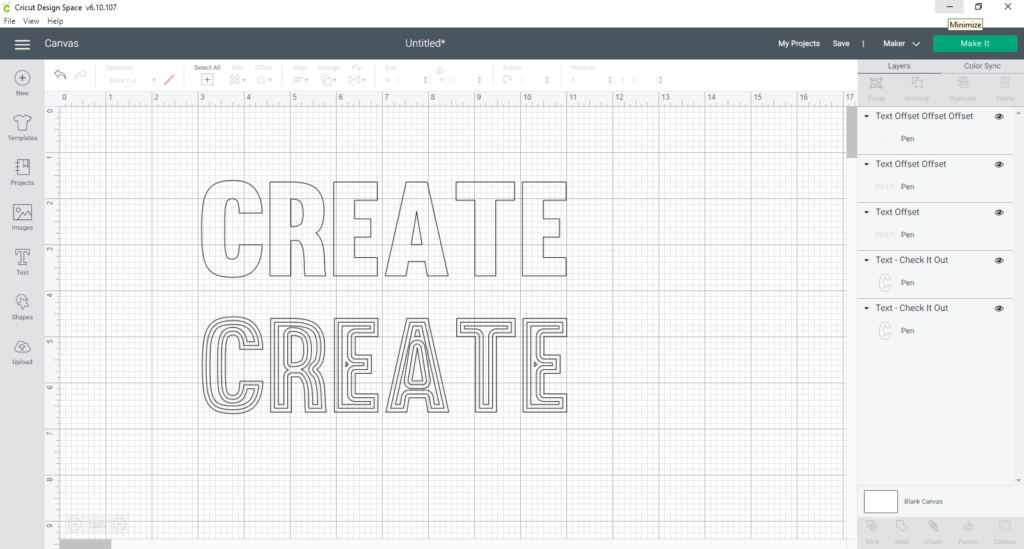
Bring it in just a bit to create a small inset. Then, with that inset still selected, do it again. Repeat as many times as you need to in order to fill the font.
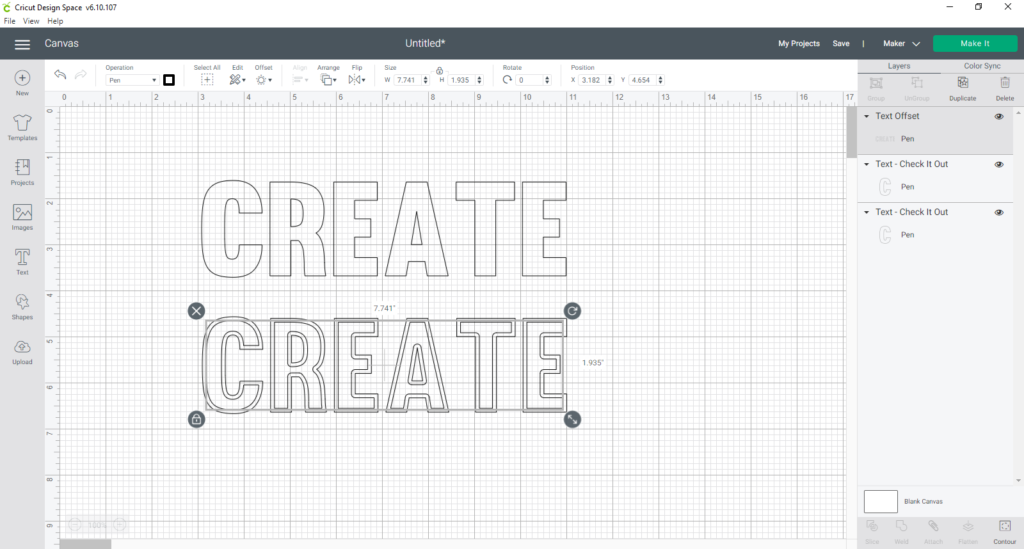
Make sure to attach your text and insets.
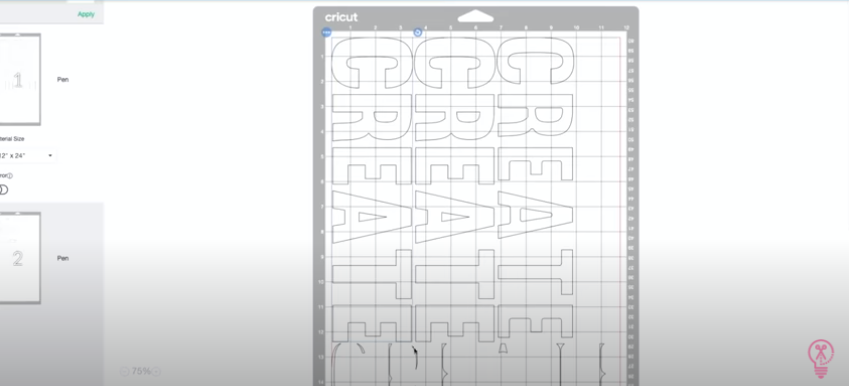
If you were to then click Make It, every single one of the offsets (insets) you have created are going to be sent to your cutting mats to draw separately. So, with the word and all of the offsets selected, choose Attach.

One important thing to check before you go ahead and Draw. Sometimes Design Space defaults to a different color for these offsets. So, we like to go through each one and make sure they're all set for the same pen and the same color so it doesn't then try to prompt us to switch markers partway through.
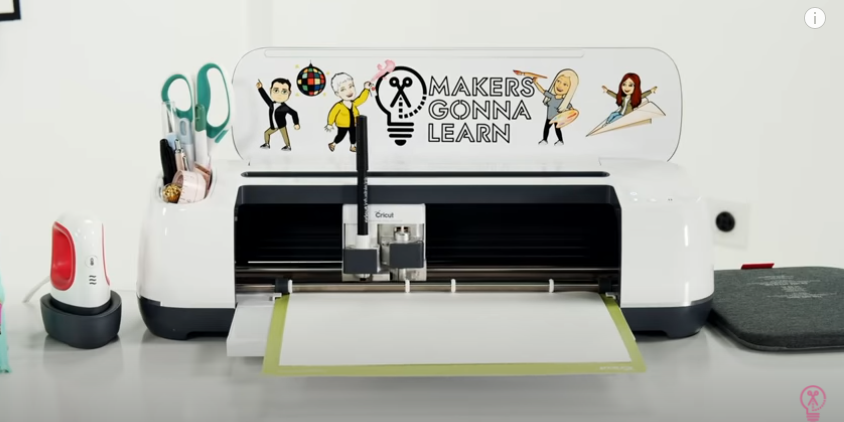
If you are drawing something larger, you definitely want to use a marker instead of a pen so that as your Cricut goes over each of those inset lines, it will ultimately fill in the font. With smaller text, you can get away with using the pens.
We suggest doing a couple of test runs before creating your final craft project. In this way, you can find just the right pen or marker for your project. Remember that we've had some good luck with off-brand pens and markers – one of our favorites to use is Crayola markers in our Cricut machines!
How to Make My Cricut Write Using Design Space
Source: https://makersgonnalearn.com/how-to-fill-in-fonts-on-cricut/
0 Response to "How to Make My Cricut Write Using Design Space"
Post a Comment